This is a follow up post to Infinity and Beyond: Introduction.
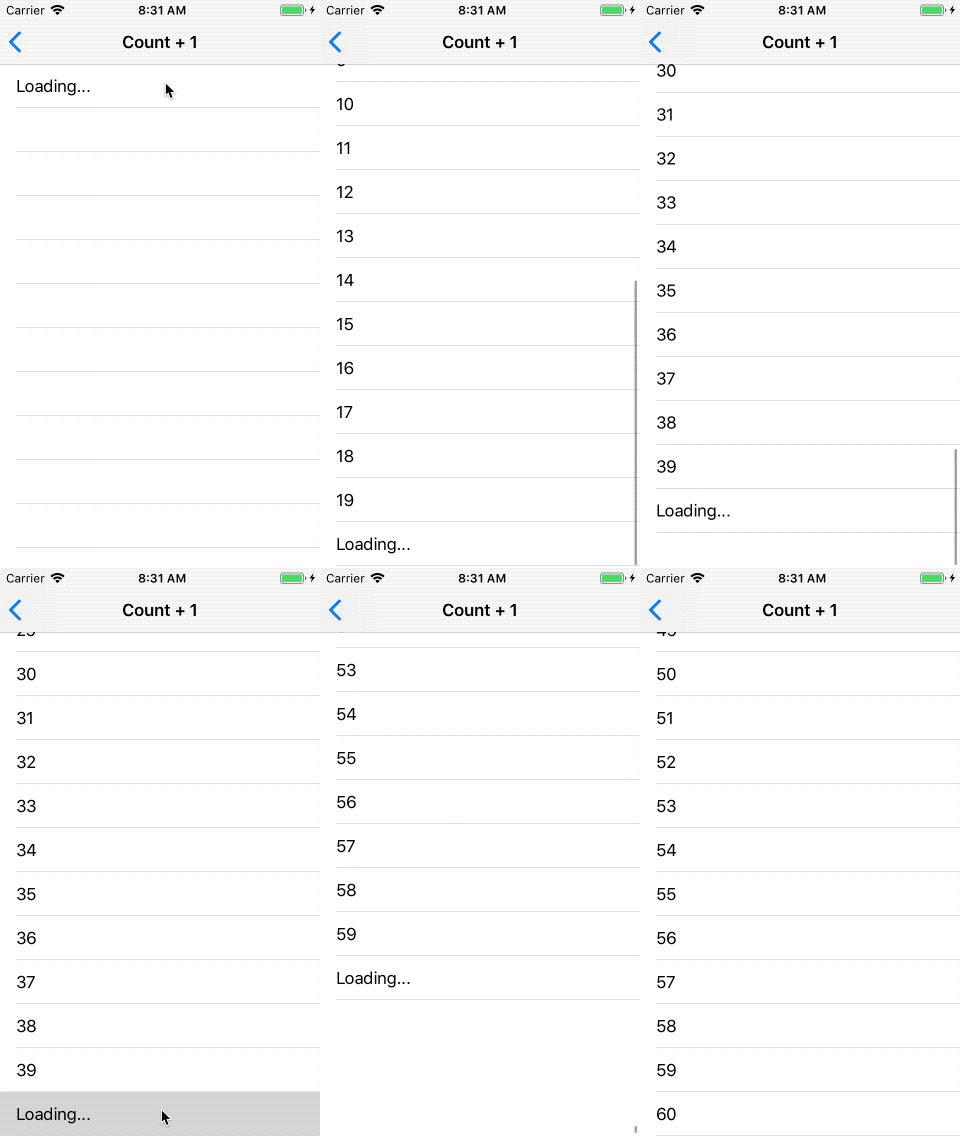
The “Count + 1” approach pads the row count by one and uses that extra row to display loading and error information. While one of the simplest implementations, it also has one of the worst user experiences.
User Experience

This approach’s main weakness is its user experience. Because new content isn’t requested until the user reaches the end of the currently visible content, the user is forced to wait for every screenful of information. This can be very frustrating if they know that the content they’re interested in is several screens away. This approach also renders the scroll indicator useless because the total row count increases with every content response.
Complexity
This is one of the least complicated implementation approaches. There’s no need
for OperationQueues or DispatchQueues. The main thing you need to do is
manage request state, so that you don’t make more than one request for a given
batch of data.
Code
What follows are some of the key parts of this approach. The full code for this example can be found in the Infinity and Beyond project.
As the name “Count + 1” implies, you’ll need to pad the actual current count of models by one.
override func tableView(_: UITableView,
        numberOfRowsInSection _: Int) -> Int {
    return models.count + 1
}
You need some way to track the request state. You don’t have to use an enum,
but doing so clearly defines the expected states, which will make it easier to
reason about them.
enum State {
    case loading
    case loaded
    case error
}
In tableView:cellForRowAt:, you simply return the row if you have it or
initiate a new network request. If the view controller is already in the
loading state, you only need to reconfigure the informational cell.
override func tableView(_ tableView: UITableView,
        cellForRowAt indexPath: IndexPath) -> UITableViewCell {
    let cell = tableView.dequeueReusableCell(
        withIdentifier: CountPlusOneCell.identifier) as! CountPlusOneCell

    if indexPath.row < models.count {
        let model = models[indexPath.row]
        cell.configure(for: .loaded(model))
    } else {
        cell.configure(for: .loading)
        switch state {
        case .loading:
            break
        case .loaded, .error:
            fetch()
        }
    }
    return cell
}
Retry can be as simple as tapping on a cell, but you can do whatever you want here.
override func tableView(_ tableView: UITableView,
        didSelectRowAt indexPath: IndexPath) {
    tableView.deselectRow(at: indexPath, animated: true)

    if state == .error {
        configureLastRow(for: .loading)
        fetch()
    }
}
Your code that executes network requests needs to manage the controller state to ensure everything else behaves correctly.
private func fetch() {
    state = .loading
    let nextRange = models.count ..< models.count + batchSize
    networkClient.fetch(offset: nextRange.lowerBound,
            limit: nextRange.count) { response in
        switch response {
        case let .success(newModels):
            self.insert(newModels: newModels, for: nextRange)
            self.state = .loaded
        case .failure:
            self.configureLastRow(for: .error)
            self.state = .error
        }
    }
}
After you’ve loaded the initial batch of data, inserting new rows will avoid moving the scroll position or visual changes that can result from reloading an already visible cell.
private func insert(newModels: [Model], for range: Range<Int>) {
    models.append(contentsOf: newModels)
    if models.count > range.count {
        let insertedIndexPaths = range.map {
            IndexPath(row: $0, section: 0)
        }
        tableView.insertRows(at: insertedIndexPaths, with: .none)
    } else {
        tableView.reloadData()
    }
}
Pros and Cons
- Pros
- Low complexity
- No need for separate queues
- Cons
- User must wait for every screenful of content
- No scroll indicator
Conclusion
That’s it for this example. Next up will be a refinement on this approach to improve the user experience.